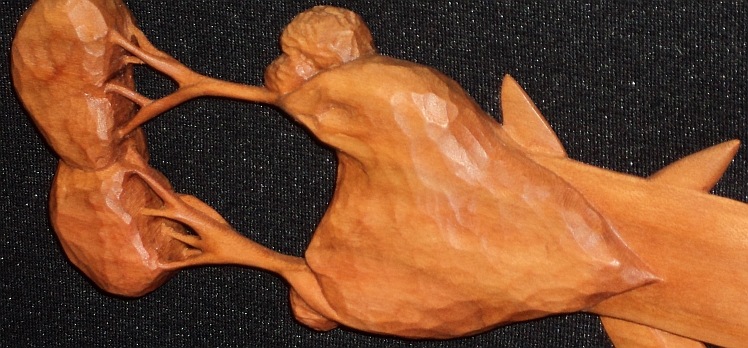
But I'll come back to this one... First, I should touch on a few other bits of fun from the past few weeks!
So, I spent some of the time to help finalize the design for the Lovespoon collaboration with David Western and two other artists. It is to be raffled off for Americymru's West Coast Eisteddfod; I participated in the always fun Celtic Beltane Festival in Hartville, Ohio; and I worked on some lovespoon commissions, too.
At the Celtic Beltane Festival, we lucked out and had a beautiful day of weather! I saw a lot of familiar faces, and for the first time, I was able to break away for a bit, and watch a friend of mine participate in the Caber Toss - he even did his first perfect throw! Those Highland Games guys are serious rock stars, if you ask me. Wow - that was fun to watch! Here's my little booth, with the few simple spoons that remained near the end of the day. You can also see more about it and other Ohio festivals at this nifty website all about Ohio festivals!

You may be able to see the little spoon I'm working on, there on the left side of the table. More about that later... Here are a few pictures of a couple of other commissions I finished in the last month:
A lovespoon commissioned as a gift for some folks in France...


Then, another commission for a first wedding anniversary (the "paper" anniversary)...


Maybe later I'll come back and share a few of the challenges that I encountered on these. For now, though, I feel more like discussing that little white spoon from above... This was a lot of work - you can probably just scroll through the pictures, but I added in some notes, just in case anyone might be curious. So - be warned - this is another long one!
Anyway, this was a commission for a tenth anniversary. The person who commissioned it had lots of ideas to include in the spoon, and even though I knew I was over-designing it a bit, I was inspired, and my client was really excited about the spoon, so I allowed myself to get carried away in the design, and probably included many more elements than I should have. One of the bits of heritage he offered to be included was Pennsylvania Dutch, which has its own tradition full of symbolism called "Hex" (or maybe Hechs) signs. So I designed and incorporated one of those, as well, which meant an area of relief carving some fine details, which actually allowed me to somewhat concisely include a few additional bits of symbolism. I'm not going to go through all the symbolism here, though. Suffice it to say - this one is PACKED FULL of meaning.
One interesting challenge that comes with commissions is estimating the time they will take. On this one, I knew I was significantly over-designing it, but I didn't care - it was fun! But I still kept careful track of the time I spent, so I would know how good my estimating is getting - and I'm pleased to report I finished it only 1.5% over my estimate!!! So, I've apparently gotten pretty good at estimating. The main themes in this spoon, anyway, are all seasons, a few different kinds of heritage, family, and faith. (and that's just the general stuff)
So - Here are - well - LOTS of pictures showing the progression of this spoon... starting with cutting the blank from a 1" thick holly board. I really love holly, but it's hard (so cuts and carves very slowly!)

In this picture, it isn't all the way cut, but you get the idea. This was about 2 hours into the sawing. Later I decided that next time I do a sunflower, I don't think I'll cut the petals - just the circle, instead. It's just not necessary, and I think the flexibility of not defining the petals until later would be better.
Then, I got into the carving. Here it is after 10 hours...

I tried to start in some of those areas that were a little challenging to reach, just to get them out of the way. However, I also didn't go far with that Moravian Star at the top, because I figured carrying it around, I'd break off some of the corners, so I didn't want it to be the finished corners that I would inevitably break! Luckily, though, holly is so strong, and I was careful enough, that even those rough corners survived pretty well, until I cut them away near the end. Deciding the depth of everything was one of the big challenges, knowing that I'd eventually cut away a lot of the back of most of the spoon. With most parts, I managed to cut down the levels pretty much how I wanted, up front, but with that darn sunflower, I kept changing my mind. So I probably spent maybe as much as ten extra hours, just changing my mind and re-carving that whole thing to make it lay on a slightly different plane. In hindsight, I'd have been better-off had I just cut down the surface of a plain circle, until I liked where it was, and THEN drew in and carved all the detail of the petals. Live and learn. :)
Well, here are a few more pictures as it progressed...


So, except for scooping out most of the bowl, and working on that star, the front was mostly where I wanted it. (Well - and that sunflower - it changed yet a few more times...) So, now it was time, I thought, to get down to it with that star. It was an interesting challenge, because it's normally a spherical thing, so I had to kind of make up how I wanted to represent it in this "squished in-the-round" format. It couldn't be literal, but you still had to know it was a Moravian Star. Also, I'd need to be very careful once I carved away to where all those points actually would be, as points are always very fragile.


And then, I thought I'd save the undercutting of those front layers of the star until later - to at least give the points a little support until I absolutely had to take them off. You'll notice those front points aren't all quite even lengths, either - I figured I can make those more even when I undercut them. For now, then, on to the bowl! When I think of it, I usually like to start with the outside (backside) of the bowl.

That took about 2 hours... and then, on to all the rest of that extra wood to take off of the back! Boy - that's a lot of very hard wood!


Before I go too far, though, there's a lot of interweaving of stems and leaves and a cross down in that section above the bowl, so a lot of fully 3D sculpture. And once again, I just made up something for the back of the star, and put it off until later...
With the back of that Hex sign, though, this was one of the first time I really thought some sort of power carving might be a good idea. Usually I have too many dimensions and details interweaving through the back sections, too, but the back of that circle really didn't need detail, so if I'd wanted, I wouldn't have felt too bad (and probably would have saved a couple hours of work) to have power-carved away some of that waste. But, instead, I just used my trusty gouges.

And then I didn't take pictures for a while... and just worked at those tulips surrounding the cross....


So, now we're really just about there... Here we are with all the carving complete, and even a touch of the sanding begun...


But, then, the bowl is still pretty clunky... the rest of it is probably about a third of the mass it once was... So - as a last step, just to finish scooping out the bowl, so it's pretty thin and relatively even all over. Another hour, and I'm just about there. I do end up leaving it somewhat thick near the top of the bowl, just to give it a bit more strength, and also because I just liked the shape at that point.

And then - many many hours of sanding. Lots of details, lots of points to avoid breaking, and lots of grits of sandpaper to go through! Meanwhile, my dog got deathly ill.... so a lot of sanding was done waiting around at the Veterenary hospital... good thing I thought to bring it along!
Anyway, I sanded to about 600 grit, then doused the whole thing in water to bring up some fibers. Usually it doesn't take long to dry, but holly seems more thirsty than a lot of other woods, so it really took a long time to dry. Once it dried, though, I had another pass with the 600 grit, then went on through the rest, all the way to 12,000. Here's what it looked like, sanded:


Such a pretty, creamy color this holly has. Now, usually, I'd finish with both oil and wax, but I've been talking to some people about finishing things in just wax, and I thought this was an occasion that really called for that.
So here it is, finished...


Notice the strange mark - it's apparently a knot - that runs the whole length of the spoon. I guess I didn't think knots would run that long. This is 18 inches long - that seems like a long knot to me, but I don't know much about how they form, so - maybe it's not strange after all. Anyway, you only see it on the back of the star and the bowl, because it was only about 1/4 inch deep, from the back plane of the board. Everywhere else, I carved away between 1/4 and 1/2 inch of the back of the board.


So, there you have it - from beginning to end...